Board Setup#
This setup uses the VEK385 board to run applications.
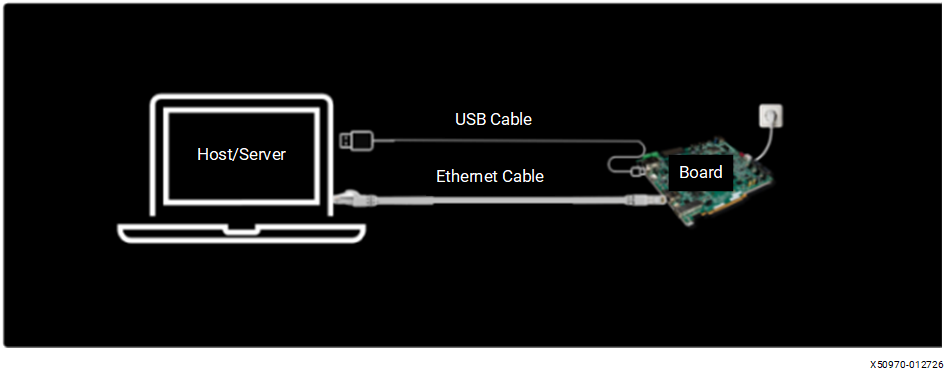
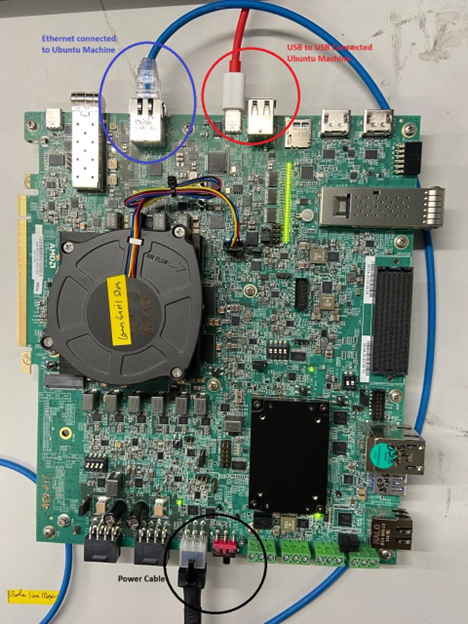
The following images show the connections between the board and the Ubuntu host machine.
Switch Settings for JTAG Mode#
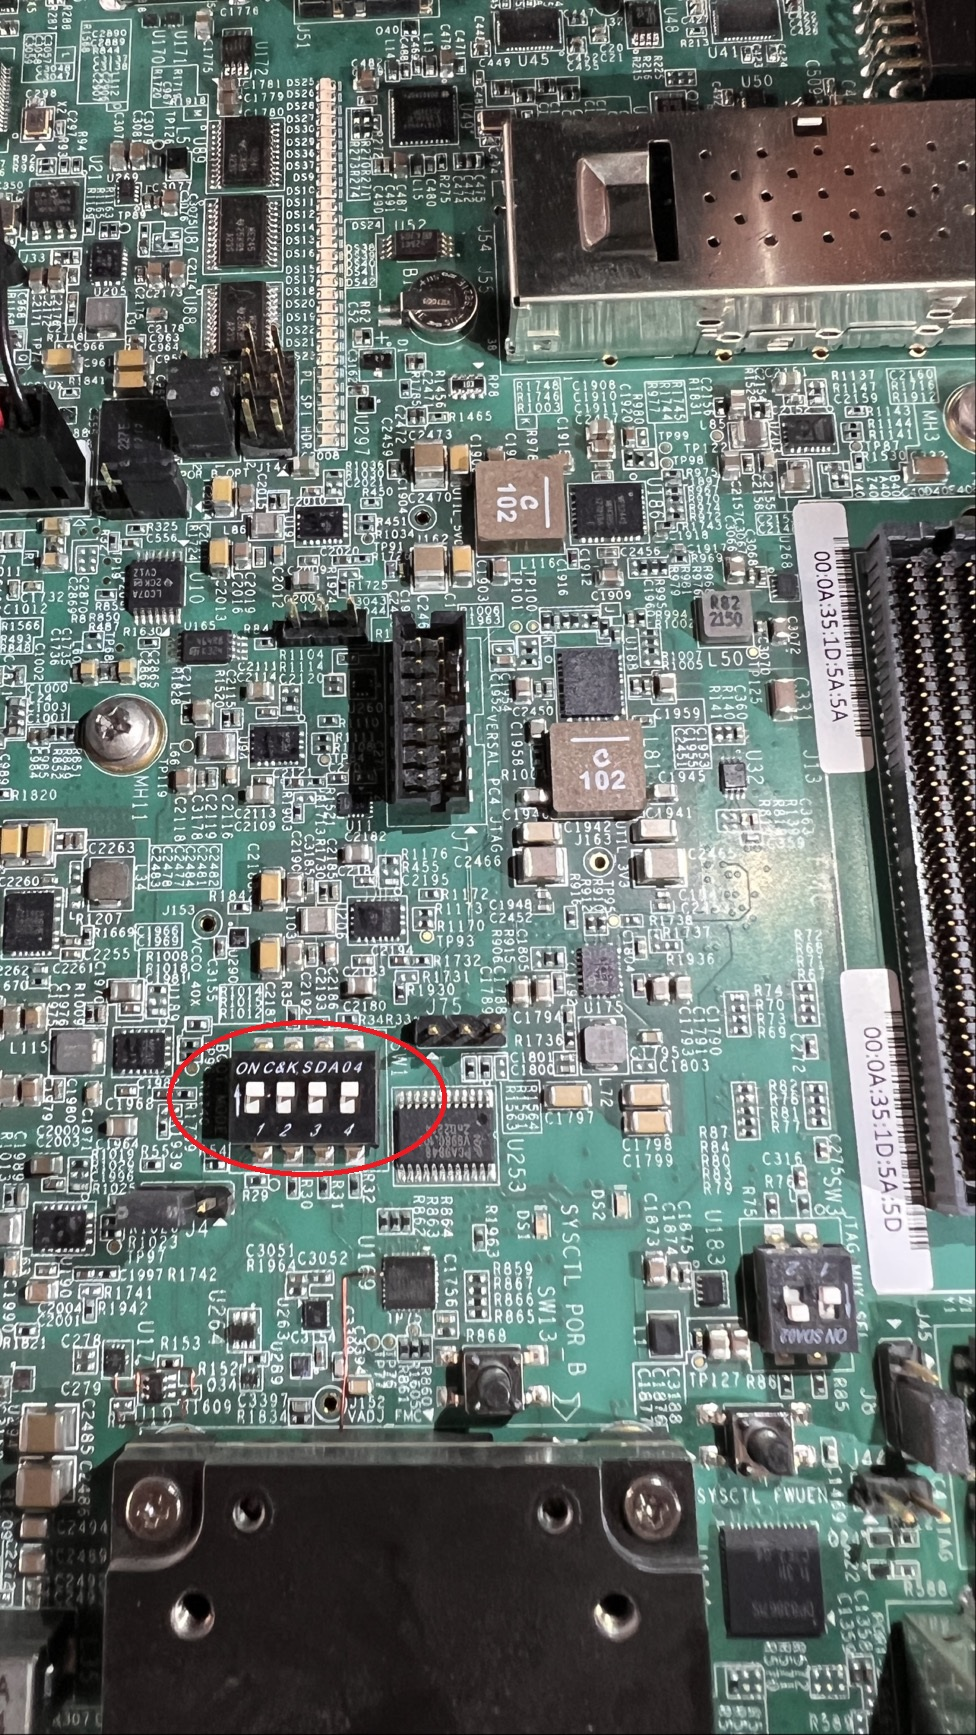
The following image shows the switch settings required to operate the board in JTAG mode.
Install the Cable Driver on the Host Machine#
Important
Unplug the cable before installing the driver.
The Vivado installer includes the cable driver and is essential for enabling JTAG and serial connections to the board through USB.
Before installing the cable driver, install either Vivado 2025.2 or Vivado Lab Tools 2025.2 on the host machine. Vivado Lab Tools is a lightweight alternative that contains only the programming and debugging tools, and is sufficient for cable driver installation and board bring-up. Download from Xilinx Downloads.
To install the driver, run the following commands on the host as root:
cd ${vivado_install_dir}/2025.2/data/xicom/cable_drivers/lin64/install_script/install_drivers/
sudo ./install_drivers
Note
Replace ${vivado_install_dir} with the Vivado installation directory (for example, /opt/Xilinx/Vivado for the full Vivado installation, or /opt/Xilinx/Vivado_Lab for Vivado Lab Tools).
After installing the cable driver, proceed to OSPI and SD Card Boot Flow to continue with the board bring-up.